

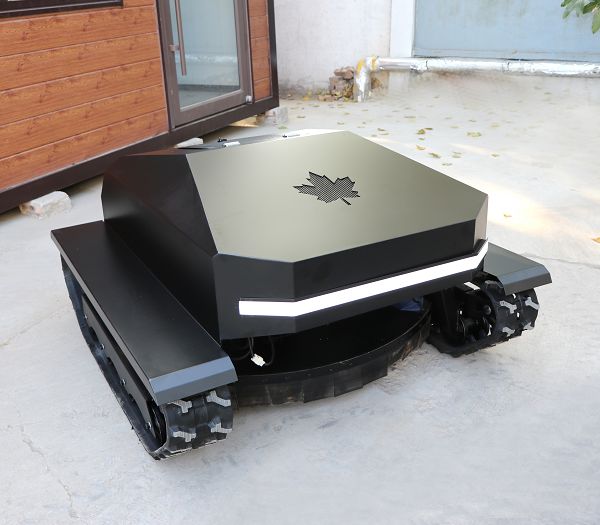
Building a Raspberry Pi-Powered Remote Control Lawn Mower: A DIY Adventure
Ever stared at your overgrown lawn and wished for a robotic helper? With a Raspberry Pi 4, some elbow grease, and a dash of creativity, you can build your own all-terrain mowing machine. This project isn’t just about cutting grass—it’s about reclaiming weekends and turning chores into tech triumphs. Let’s dive in.
1. The Blueprint: What You’ll Need
Gather these components like a scenger hunt:
| Component | Purpose | Notes |
|---|---|---|
| Raspberry Pi 4 | Brain of the operation | 2GB+ RAM recommended |
| DC Motors (x4) | Drive wheels and blades | JGA25-370 motors work well |
| Motor Driver (TB6612) | Control motor speed/direction | Avoids overheating |
| LIDAR Sensor (RP-Lidar) | For obstacle detection | Optional but slick for autonomy |
| 12V Batteries (x2) | Power supply | Li-ion for longevity |
| Webcam/Pi Camera | Live feed for remote control | Mount it like a cyclops eye |
(Pro tip: Salvage parts from old toys or eBay. My first prototype used a repurposed RC car chassis—ugly but functional.)
2. Assembly: From Chaos to Order
Start with the chassis. A sturdy base is key for slope mowing solutions. I used a waterproof plastic tub (yes, really) drilled with holes for motors and sensors. Attach the wheels, ensuring ground clearance for uneven terrain.
Next, wire the motors to the TB6612 driver, then to the Pi’s GPIO pins. This is where things get spicy—double-check connections unless you enjoy smoke signals. For the blades, a 12V motor with 3D-printed mounts works wonders.
(Fun fact: My neighbor’s cat became the unofficial "beta tester" when the mower chased it autonomously. Lesson learned: add emergency stop buttons.)
3. Coding: Brains Over Brawn
Python scripts handle the logic. Use RPi.GPIO for motor control and Flask for a web-based remote GUI. Here’s a snippet to make it move:
from RPi import GPIO import time GPIO.setmode(GPIO.BCM) GPIO.setup(17, GPIO.OUT) # Motor pin def go_forward(): GPIO.output(17, GPIO.HIGH) time.sleep(2) GPIO.output(17, GPIO.LOW) go_forward() # Lawn domination begins!For commercial remote mower aspirations, add GPS waypoints or integrate with Home Assistant.
4. Safety & Polish
Kill switch: A big red button ses lives (and tulips).
Weatherproofing: Duct tape and silicone sealant are your friends.
Aesthetics: Spray-paint it neon green. Because why not?
5. Real-World Use: Beyond the Lawn
This rig isn’t just for grass. Swap blades for brushes, and it’s orchard maintenance equipment. Add a solar panel, and it’s off-grid. The Pi’s versatility turns robotic lawn care into a gateway for bigger projects.
Final Thought
Building a Pi mower is equal parts frustration and euphoria. It might not win design awards, but when it chews through dandelions while you sip lemonade? Priceless.
: For LIDAR and motor specs.
: Remote control and GPIO guidance.: Integration ideas.(Now go forth and automate. Your lawn—and your inner nerd—will thank you.)